Audio Recording

The Makery’s audio production equipment is open to all students, faculty, and staff. The available equipment allows for voiceover recordings, podcast recordings, and the software to edit. 

To get started, make an appointment (select “Audio Recording”).

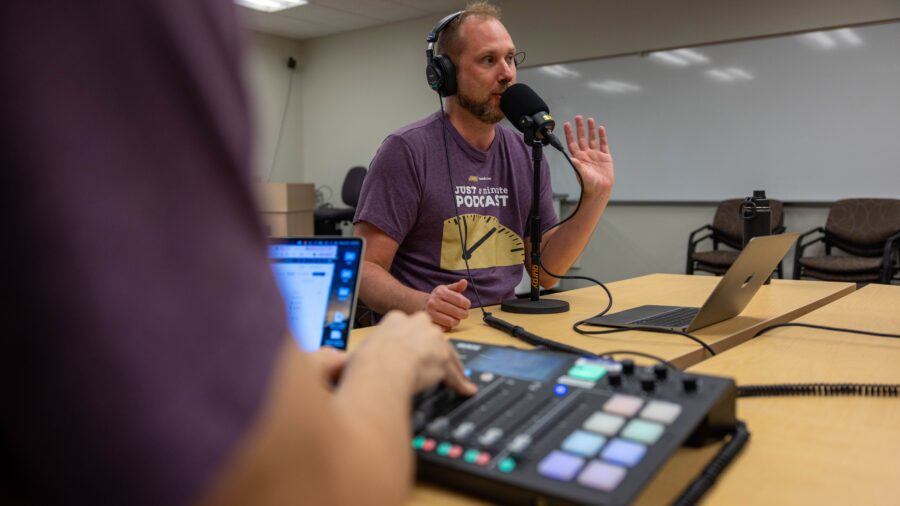
Available equipment includes a Rode Rodecaster interface, Electro-Voice RE20 microphone, headphones, and a digital audio workstation running Audacity, Adobe Creative Cloud, GarageBand, Izotope Ozone, and other industry standard applications. Details below:

Hardware

Software

Tutorials and Guides

Frequently Asked Questions

Q: How do I save my project once it’s done so it won’t get lost?

A: We highly recommend saving projects to your own USB, external hard drive, or cloud service (Google Drive, Dropbox). Any file saved to the computer in the Narration Room will be lost overnight due to the computer’s deep freeze, unless it is saved to the folder titled “Save Here.” We only recommend doing this if you are working on a project with software exclusive to the Narration Room, such as FL Studio, Ardour 5, or iZotope Rx 6. 

Q: I can’t hear myself through the headphones when speaking into the microphone. What do I do?

A: Make sure the computer’s default hardware settings are changed so your input (mic) and output (headphones) hardware are both set to “Scarlett 2i2.” This can be changed in the toolbar at the top of the screen in any of the DAW programs we have installed, if you click on the program name and select “Preferences,” and then “Audio Hardware.” From there you should be able to change the input and output settings from “Built in microphone/speakers” to “Scarlett 2i2.”

Q: Okay, I did that, but I’m still not able to hear myself. What do I do now?

A: The microphone and headphones are now connected to the computer via the Scarlett 2i2 interface, but to hear yourself you’ll need to switch on “Direct Monitoring” on the interface itself (located between the right microphone input and headphone jack). Then make sure the microphone volume (the black nob is located next to the mic cable input) and speaker volume (the silver knob is located about the headphone jack) are both up to a level you can hear with. It might also help to record a “test track” to get an idea of how well the mic is picking up your voice.

Q: When I’m recording, it only shows my voice recording to the left channel and I can only hear myself through one headphone speaker, but not both. Why is that?

A: That’s because we only have one microphone in the Narration Room hooked up to the computer through the interface, and because it is connected through the left channel, that is the only side it will pick up. You have two options to solve this problem! Chances are if you are only seeing it record to the left channel, your track has been set up to record in stereo, which is the default. To change this, go to the top left hand corner of the screen again, and select “Adobe Audition 2018 CC” > Preferences > Audio Channel Mapping. Once you select that, change both the device channels to “Input 1”. Try recording again, and this time you should see audio waveforms recording on both the left and right tracks. Alternatively, if you would rather record in “Mono,” select that in the window that comes up when you open a new audio file in the drop-down menu next to “channel.”